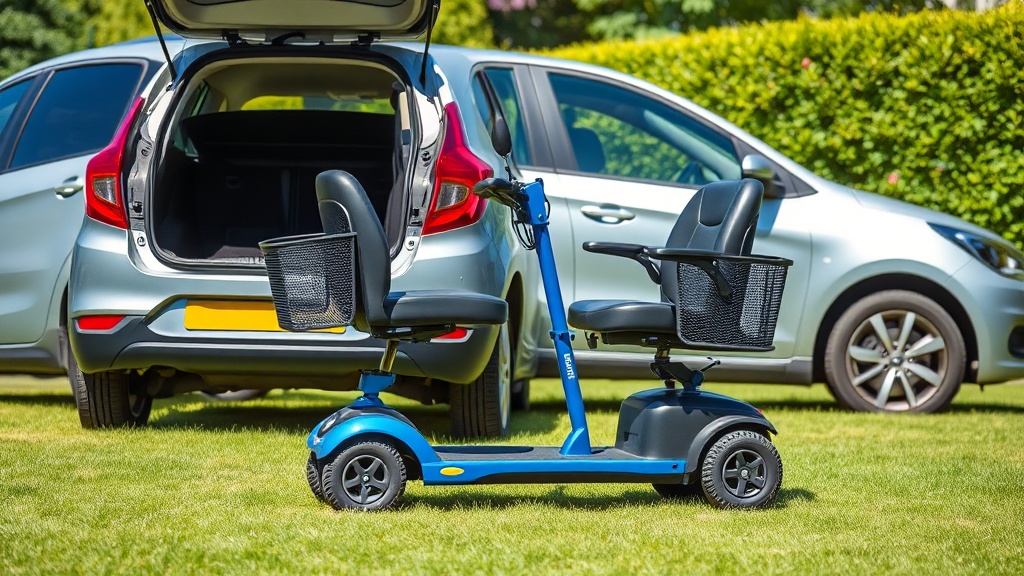
Why Portability Matters for the Drive Medical Scout
When you rely on a mobility scooter for daily independence, the ability to break it down and stow it in a car boot or closet can define your lifestyle. The Drive Medical Scout has earned a reputation as a travel-friendly power chair, but understanding precisely how to disassemble and transport it is key to maximizing its utility. This guide covers every step of quick disassembly, storage best practices, and real-world owner insights to help you get the most from your Scout.
Whether you’re a seasoned user or new to the Scout, knowing exactly which levers to pull and how to lift each component safely saves time and prevents damage. Let’s walk through the process from start to finish.
How Do You Disassemble the Drive Medical Scout for Transport?
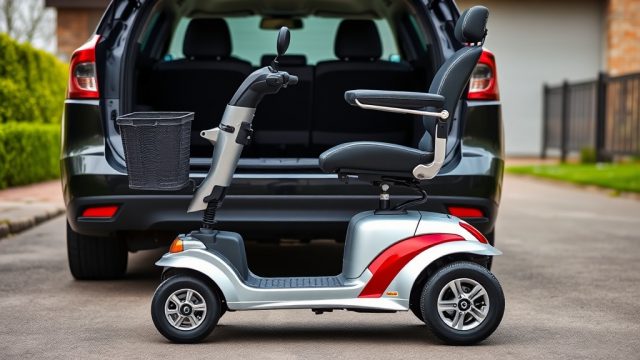
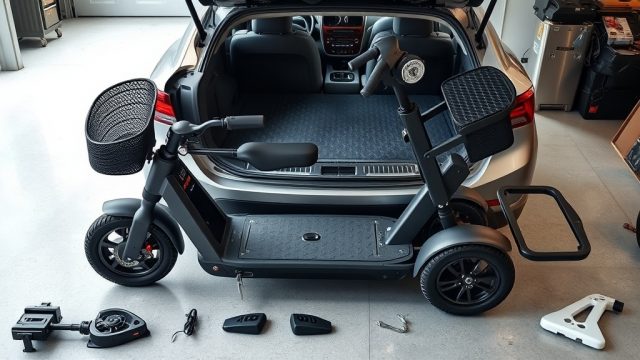
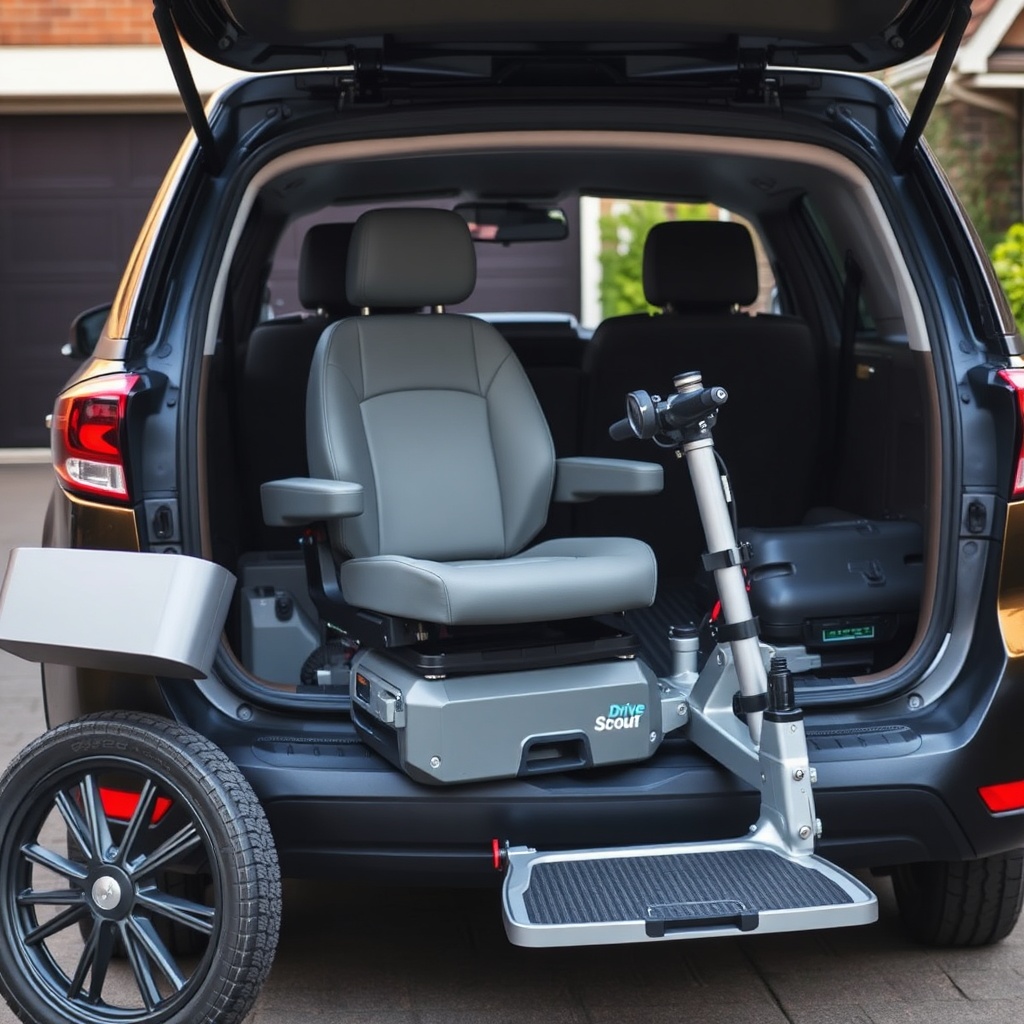
The Drive Medical Scout’s portability hinges on its modular design. The scooter splits into five main pieces: the seat, the front basket, the battery pack, the rear section (with motor and wheels), and the front section (with tiller and front wheel). No tools are required for disassembly — every connection uses a quick-release mechanism.
Step-by-step disassembly:
- Remove the seat: Pull the seat height adjustment lever located beneath the seat base. Lift the seat straight up and set it aside. It weighs approximately 8 kg (17.6 lbs).
- Detach the battery pack: Locate the red and black battery connectors under the tiller. Unplug them by pulling firmly on the connectors (not the wires). Then lift the battery box off the frame using the integrated handle.
- Split the frame: Pull the large black locking clamp lever located near the midpoint of the deck. Gently separate the front and rear frame sections. These two halves each weigh about 12 kg (26.5 lbs).
- Optional: remove the basket: The front basket clips onto the tiller post. Squeeze the release tabs and lift it free.
Reassembly is the reverse: align the frame halves, push until they click, plug in the battery connectors, and drop the seat into place. The entire process takes under 60 seconds with practice.
If you experience difficulty separating the frame, check that the locking clamp is fully disengaged. For more detailed guidance on tiller and steering alignment issues, see our Drive Medical Scout Troubleshooting: Fixing Steering Column Alignment article.
What Is the Maximum Weight of the Disassembled Pieces?
Knowing the individual piece weights helps you plan who will load the scooter and whether you need additional assistance. Here’s a complete breakdown of the Drive Medical Scout’s component weights:
| Component | Weight (kg) | Weight (lbs) | Notes |
|---|---|---|---|
| Seat (with armrests) | 8 | 17.6 | Removable via quick-release |
| Battery pack (with batteries) | 11.5 | 25.3 | Integrated handle for lifting |
| Front frame section (tiller + front wheel) | 12 | 26.5 | Includes motor controller |
| Rear frame section (motor + rear wheels) | 14 | 30.9 | Heaviest single piece |
| Front basket | 1.2 | 2.6 | Optional to remove |
| Total scooter weight | 46.7 | 102.9 | Ready to ride |
As shown, the rear frame section is the heaviest at 14 kg (30.9 lbs). Most adults can lift this piece easily, but if you have limited upper body strength, consider using a portable ramp or asking a companion to help. The battery pack at 11.5 kg also benefits from its built-in carrying handle.
For winter storage considerations and battery care during long periods of disuse, refer to our Drive Medical Scout Winter Storage: Battery Care and Scooter Protection Guide.
How Should You Lift and Stow the Parts in a Car?
Proper lifting technique prevents injury and avoids dropping expensive components. Here’s the optimal order and method for loading the Scout into a standard vehicle:
Recommended loading sequence:
- Load rear frame first: Bend at your knees, keep your back straight, and use the frame rails as handholds. Place it in the boot with the motor side facing away from the car’s interior panels to protect trim.
- Next, load the front frame: Position it parallel to the rear section. The tiller can be folded down by loosening the handlebar clamp — this reduces height by about 15 cm (6 inches). For handlebar height adjustment instructions, see Drive Medical Scout Handlebar Height Adjustment: Optimizing Riding Posture.
- Add the battery pack: Slide it between the two frame halves or on top of them, depending on available space. Ensure the connectors are covered to prevent shorting against metal objects.
- Place the seat last: Set it upright on top of the other components, or stow it behind a front seat if the boot is fully loaded.
- Secure with straps: Use tie-downs or bungee cords to prevent shifting during transit. Never leave loose parts in the cabin of a vehicle.
Many owners report that a mid-size hatchback or estate car can accommodate all five pieces without folding rear seats, but a compact car may require seat folding for the rear frame section.
What Tools and Accessories Simplify Transport?
While no tools are needed for disassembly, several accessories can make the process smoother and safer. Here’s what seasoned owners recommend:
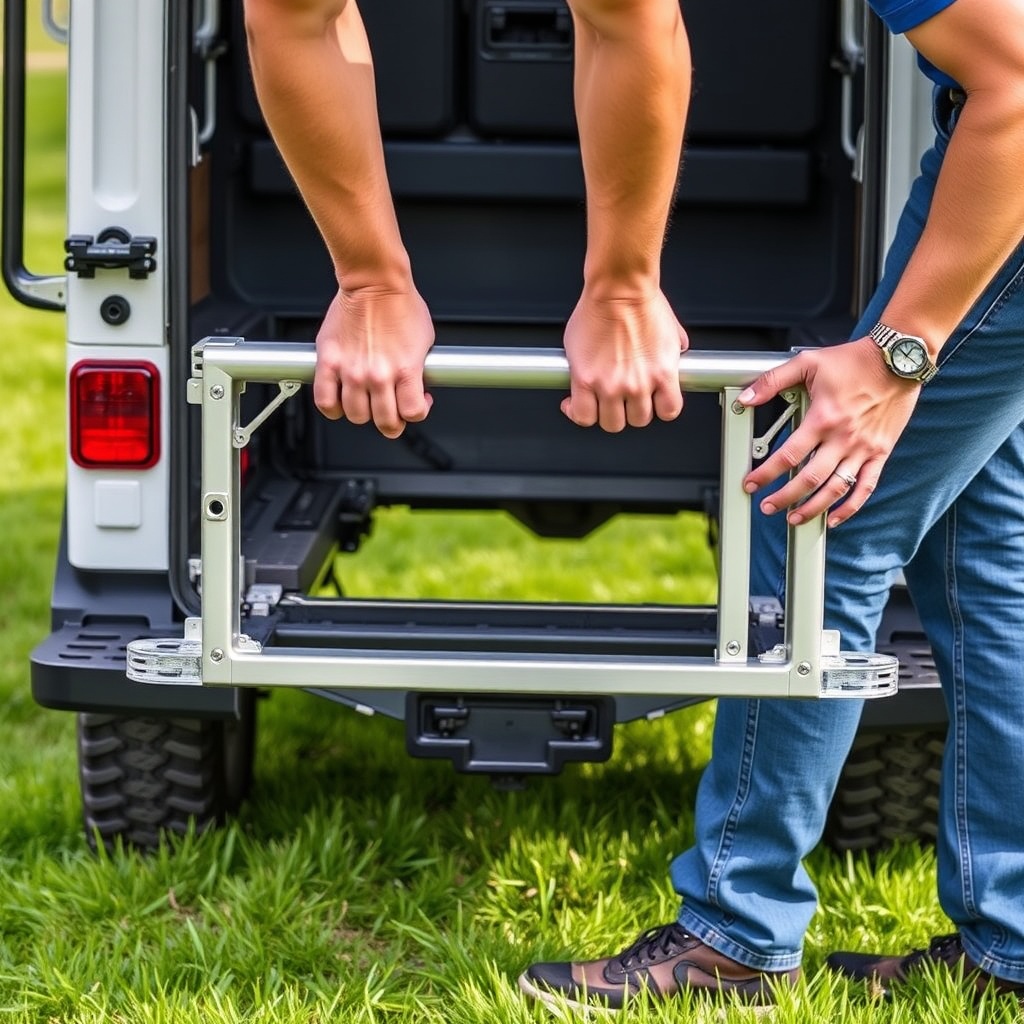
- Portable ramp: A 4- to 5-foot folding ramp (rated for at least 150 kg capacity) allows you to roll the intact scooter into a van or SUV without disassembly. Prices range from £80 to £200 in the UK (approx. €90–€230).
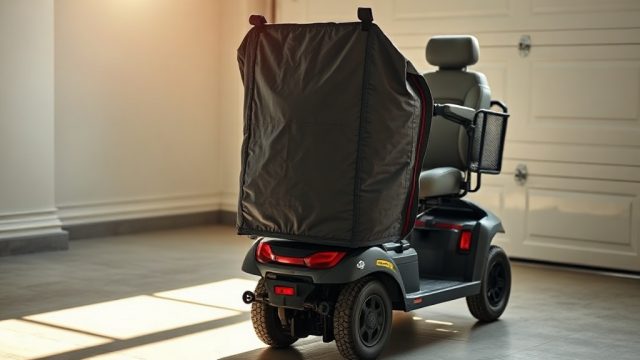
- Storage bag or cover: A padded scooter transport bag (about £50–£90 / €60–€105) protects components from scratches and weather during travel.
- Tie-down straps: Ratchet straps with soft loops (around £15–£30 / €17–€35 per pair) secure the frame halves in the boot.
- Battery terminal caps: Small rubber caps (less than £10 / €12 per set) prevent accidental contact when batteries are disconnected.
- Cargo mat or blanket: A non-slip boot liner (about £20–£40 / €23–€47) prevents sliding and protects your car’s upholstery.
If you plan to keep your Scout in the car for extended periods, especially during colder months, read our Drive Medical Scout Winter Storage: Battery Care and Scooter Protection Guide for tips on battery maintenance.
What Owners Say About Portability and Storage
Real-world experiences from Drive Medical Scout owners highlight both strengths and minor caveats regarding portability. Based on reviews from UK mobility forums and retailer feedback:
- Margaret, 67 (Norwich): “The Scout splits into pieces lighter than I expected. I can load it into my Ford Fiesta alone in about a minute, but the battery pack handle is a lifesaver. No more struggling with awkward boxes.”
- David, 74 (Cheshire): “I keep mine in the garage and take it out for trips. The quick-release clamps are still tight after two years. My only complaint is that the rear section can be a tight fit in a small boot — I fold my rear seat down.”
- Susan, 62 (Bristol): “I bought a ramp instead of disassembling because I have arthritis. The Scout rolls smoothly into my SUV. But for those who travel via trains or buses, the disassembly is essential, and it works perfectly.”
- James, 70 (Edinburgh): “Make sure you label the battery connectors with coloured tape. I once plugged the red into the black by accident in a hurry — easily done and avoidable.”
- Betty, 78 (Cardiff): “The Scout’s portability is excellent, but I wish the seat had a release button that didn’t require two hands. Otherwise, it’s brilliant for day trips.”
Many owners also note that the Scout’s portability has allowed them to remain socially active, visiting friends and family without relying on converted vans. For insights on long-ride comfort, see Drive Medical Scout Comfort and Ergonomics: Long Ride Comfort Review.
Frequently Asked Questions
- How long does it take to fully disassemble the Drive Medical Scout?
Most users achieve full disassembly in 30–60 seconds after a few practice sessions. The quick-release clamps and connectors are designed for speed. - Can I store the Scout partially assembled?
Yes, but it is not recommended due to space efficiency. Fully disassembled, the components stack into a footprint of roughly 60 cm × 50 cm × 40 cm (24″ × 20″ × 16″). - Do I need a special ramp for loading into a car?
No, but a portable ramp rated for your Scout’s total weight (102 lbs / 46.7 kg) simplifies loading without disassembly. Ramps under 5 feet (1.5 m) may require steep angles. - What is the best way to store the battery during transport?
Always detach the battery pack and carry it separately. Store it in a cool, dry environment between 10°C and 25°C (50°F–77°F). Avoid leaving it in a hot car boot for extended periods. - Can the Scout fit into a standard car boot without folding seats?
It depends on the car. Mid-size hatchbacks (e.g., Ford Focus, VW Golf) can usually accommodate all pieces without seat folding. Compact cars (e.g., Fiat 500) may require folding one rear seat for the rear frame section. - How do I prevent the seat from scratching during transport?
Wrap the seat in a soft towel or use a dedicated padded scooter bag. Alternatively, store the seat upside down on the boot floor to protect the upholstery.
Additional Range and Ergonomics Information
For those curious about how the Scout performs on longer journeys, our Drive Medical Scout Battery Range: Real-World Distance Test provides detailed data on real-world range under varying conditions. Similarly, if you are fine-tuning your riding posture, the Drive Medical Scout Handlebar Height Adjustment: Optimizing Riding Posture guide offers precise adjustment steps.
By following this transport and disassembly guide, you ensure your Drive Medical Scout remains a reliable companion for every trip — from the weekly shop to seaside holidays. The lightweight modular design makes it one of the most portable scooters in its class, and with proper care, it will serve you for years.