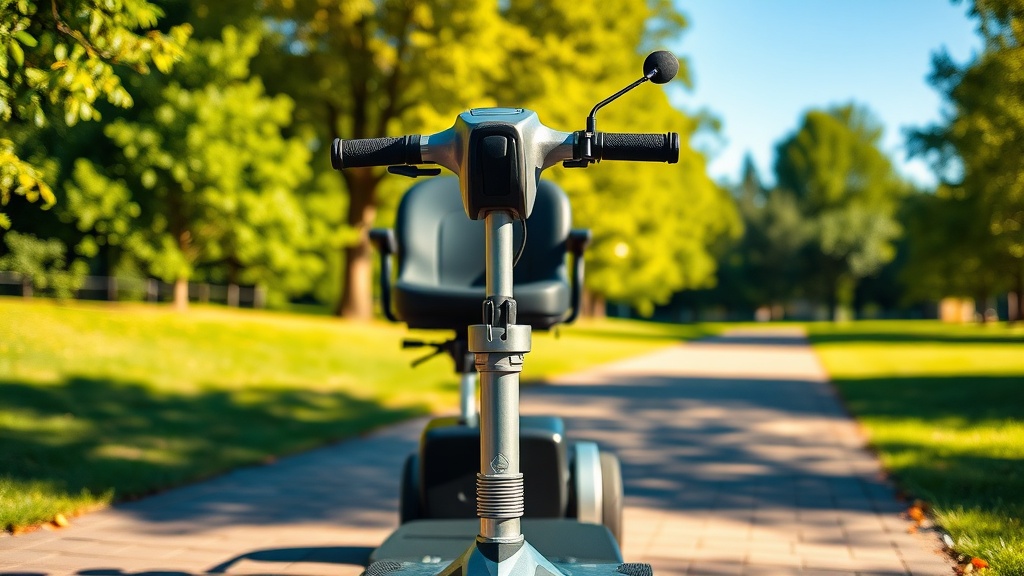
Drive Medical Scout Handlebar Height Adjustment: Optimizing Riding Posture
Proper handlebar height on the Drive Medical Scout is a cornerstone of comfortable, fatigue-free riding, directly influencing how your shoulders, wrists, and back feel during extended use. Many users overlook this adjustment, yet it can transform a mediocre ride into an ergonomic experience tailored to your exact body mechanics. This article provides a step-by-step approach to finding your ideal handlebar height, ensuring you maximise both control and comfort on every journey.
Understanding the relationship between handlebar height, seat position, and your natural arm reach is essential for preventing strain and maintaining optimal steering leverage. We’ll cover the adjustment mechanism, common pitfalls, and how to fine-tune your setup for a truly personalised fit.
Why Does Handlebar Height Matter for Riding Posture?
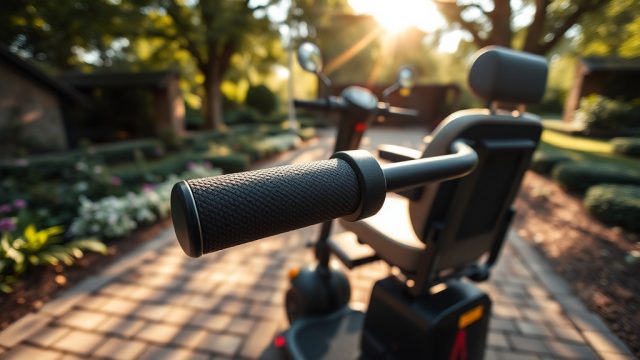
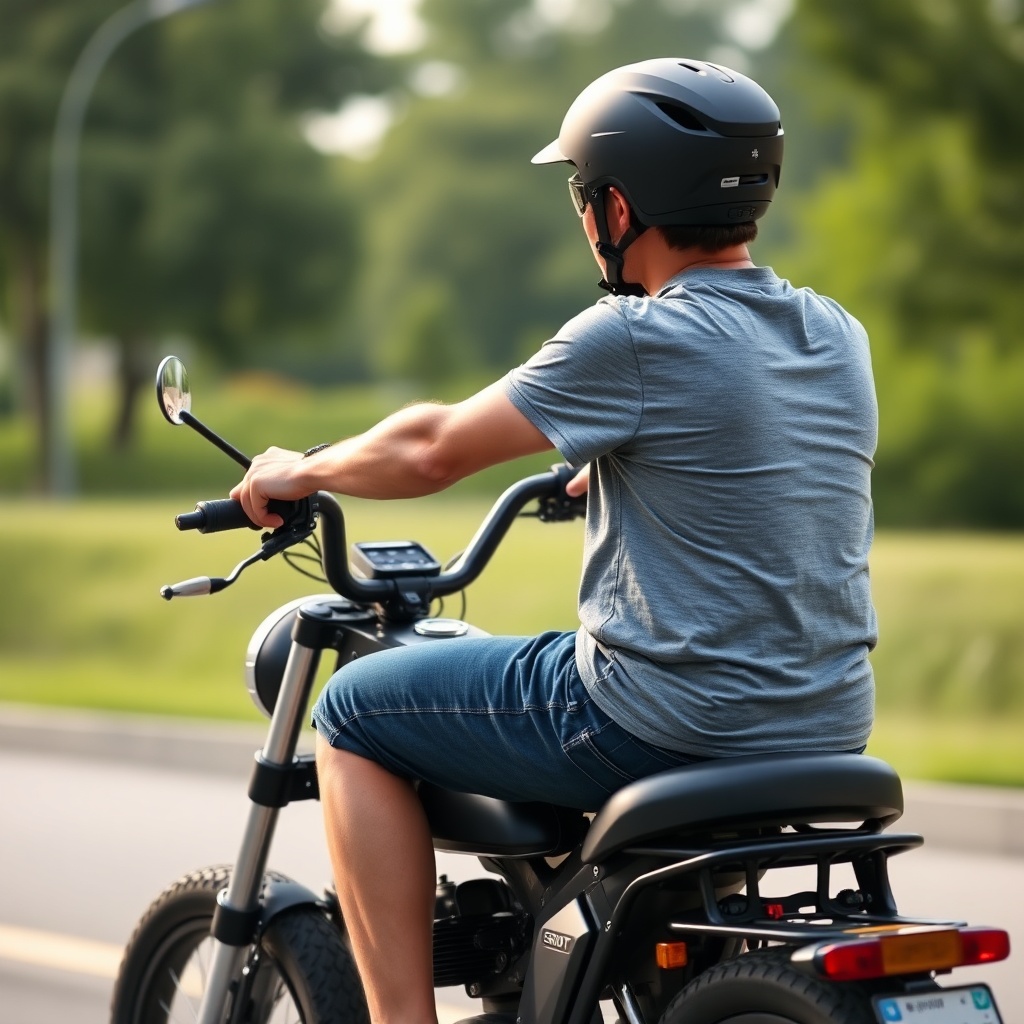
The handlebar height on your Drive Medical Scout dictates the angle of your wrists, elbows, and shoulders as you navigate. When the bars are too low, you naturally lean forward, placing excess weight on your wrists and forcing your shoulders to hunch forward. Over time, this can lead to numbness in the hands, upper back tension, and reduced steering precision. Conversely, handlebars set too high force your elbows to sit above shoulder level, creating fatigue in the deltoids and limiting your ability to make tight turns with confidence.
Research into mobility scooter ergonomics suggests that the ideal handlebar height should allow your elbows to rest at a comfortable 90- to 110-degree bend when your hands are on the grips, with your wrists remaining straight. This neutral posture distributes weight evenly across the palms and reduces compressive forces on the cervical spine. For users with specific conditions such as arthritis or carpal tunnel syndrome, even a small misalignment of 1–2 cm can exacerbate discomfort significantly.
What Is the Exact Handlebar Height Adjustment Range on the Drive Medical Scout?
The Drive Medical Scout features a telescoping steering column with a lockable collar mechanism, offering a calibrated height adjustment range of approximately 5 inches (12.7 cm). Most models allow the handlebar height to be set between 33 inches (83.8 cm) and 38 inches (96.5 cm) measured from the ground to the top of the grip surface. This range accommodates riders from roughly 5’0” to 6’2” with standard seat placement, though individual torso and arm length will influence the ideal setting.
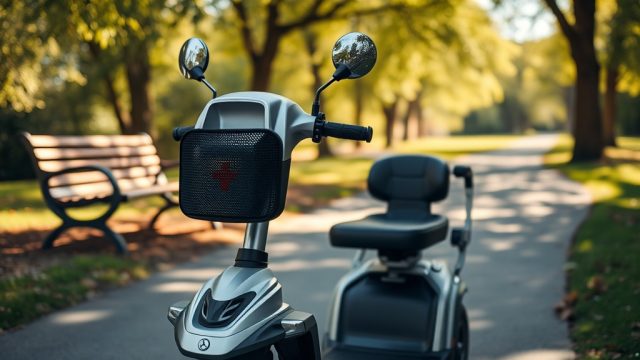
The adjustment is achieved by loosening a single quick-release lever located on the outer steering column shroud. Once loosened, the inner tube can be raised or lowered smoothly. It is critical to note that the column should never be raised beyond the indicated “MAX” marker etched into the metal; doing so compromises the structural integrity of the assembly and may cause steering instability. For riders who require a taller setup, consider pairing the handlebar adjustment with a seat height change. For a full guide on that, see the Drive Medical Scout Seat Height Adjustment: Ergonomic Setup Guide.
Below is a reference table with handlebar height recommendations based on rider height, assuming a factory-seat height of 18–20 inches:
| Rider Height | Handlebar Height (ground to grip) | Heel-to-Grip Reach (approximate) | Typical Elbow Angle |
|---|---|---|---|
| 5’0″ – 5’3″ (152–160 cm) | 33–34 inches (83.8–86.4 cm) | 22–24 inches (56–61 cm) | 100–110° |
| 5’4″ – 5’7″ (163–170 cm) | 34–36 inches (86.4–91.4 cm) | 24–26 inches (61–66 cm) | 95–105° |
| 5’8″ – 6’0″ (173–183 cm) | 36–38 inches (91.4–96.5 cm) | 26–28 inches (66–71 cm) | 90–100° |
| 6’1″ – 6’2″ (185–188 cm) | 38 inches (96.5 cm) / MAX | 28–30 inches (71–76 cm) | 85–95° |
How Do You Adjust the Handlebar Height on a Drive Medical Scout?
Begin by parking the scooter on a level surface with the power turned off and the key removed. Locate the height adjustment lever on the front of the steering column shroud—typically a black or red plastic lever with a textured grip. Pull the lever outward to disengage the locking pin, then slide the inner column up or down to your desired position. Ensure both sides of the fork are aligned; a misaligned column can cause the steering to bind. Once set, push the lever firmly inward until you hear an audible click, indicating the pin has engaged a locking hole. Give the handlebars a gentle tug up and down to confirm no vertical play remains.
If you encounter resistance during sliding, inspect the column for dirt or burrs. A light application of silicone lubricant to the inner tube can ease movement, but avoid oil-based products that attract debris. After adjustment, take a short test ride at low speed, paying attention to how your wrists feel during turns. Make small incremental changes of ½ inch (1.3 cm) at a time until you find the sweet spot. For riders who experience a loose steering column, the issue is often a partially engaged locking pin rather than a worn mechanism—recheck your locking lever engagement.
What Are the Signs of Incorrect Handlebar Height?
Misadjusted handlebars usually manifest in three distinct ways: wrist pain, shoulder fatigue, and reduced steering responsiveness. If your wrists are bent sharply upward or downward while gripping the bars, you are likely outside the ergonomic zone. Shoulder fatigue after 15–20 minutes of riding suggests you are reaching too far forward or holding your elbows artificially high. Another sign is frequent “death gripping” of the throttle or brake lever—your hands instinctively tighten to compensate for poor leverage, leading to hand cramps.
Steering difficulty during low-speed manoeuvres, such as U-turns or navigating doorways, can also indicate an improper height. When the bars are too low, you have less upward leverage, making the front wheel feel heavy. When they are too high, you lose downward leverage, causing oversteering. If you also experience a wandering steering wheel or pulling to one side, it may indicate a separate alignment issue. Consult the Drive Medical Scout Troubleshooting: Fixing Steering Column Alignment guide to rule out that factor.
How Does Handlebar Height Interact With Tire Pressure and Ride Comfort?
Many riders do not realise that handlebar height and tire pressure work together to define overall riding comfort. Correct handlebar height reduces arm strain, but if the tires are under-inflated, the scooter will transfer road vibration directly through the frame to the handlebars regardless of posture. Conversely, over-inflated tires create a harsh ride that makes any ergonomic handlebar setting feel jarring. The Drive Medical Scout typically requires a tire pressure of 30 PSI to 40 PSI depending on the tire type and rider weight. For a detailed chart and inflation method, refer to the Drive Medical Scout Tire Pressure Guide: Optimal PSI for Better Range and Comfort.
Maintaining the correct PSI reduces the shock load transmitted to your arms, allowing the handlebar height adjustment to deliver its full comfort potential. As a rule of thumb, if you still feel vibration in your palms after proper handlebar and seat adjustment, check your tire pressure first. Riders who also store their scooters in cold conditions should note that low temperatures can cause PSI drops of 2–3 PSI, further affecting ride feel. Winter storage practices are covered in the Drive Medical Scout Winter Storage: Battery Care and Scooter Protection Guide.
What Owners Say
Feedback from Drive Medical Scout owners in online forums and product reviews consistently highlights handlebar height as a top factor in ride satisfaction. Margaret T., a 5’2” user from Ohio, reports that lowering the handlebars to 33.5 inches eliminated the wrist numbness she experienced during her daily 2-mile commute. “I was ready to return the scooter until I read about the height adjustment,” she says. “Now I can ride for an hour without any hand pain.”
Conversely, taller riders like David L., who is 6’0”, note that raising the handlebars to the maximum setting transformed his posture. “I used to hunch over and my lower back ached. After the adjustment, I sit upright and my steering feels much more precise,” he shares. A common tip from long-term owners is to mark your preferred height setting with a piece of tape after finding it, as the locking collar can be hard to read in low light. Some users also recommend pairing the handlebar height with the Drive Medical Scout Build Quality Analysis: Frame and Components to understand how the column’s steel construction handles repeated adjustments without wear.
Frequently Asked Questions
Can I adjust the handlebar height while seated on the scooter?
No. For safety, always turn off the scooter and stand beside it before adjusting. Attempting to adjust while seated can cause you to lose balance or pinch your hand in the locking mechanism.
Will adjusting the handlebar height void my warranty?
No, as long as you do not exceed the maximum extension line and you tighten the locking lever fully. Normal adjustment is a user-maintenance action covered under standard warranty terms.
How often should I check the handlebar height adjustment?
Check the locking lever tightness at least once a month or after any incident where the scooter is bumped or transported. The lever can vibrate loose over time, especially on uneven terrain.
What if the handlebar height adjustment lever feels stuck?
Do not force it. Apply a small amount of penetrating oil to the pivot points of the lever and let it sit for 10 minutes. If the lever still does not move, inspect for debris or a bent locking pin. Contact Drive Medical customer support if the issue persists.
Can I install aftermarket handlebar extensions on the Drive Medical Scout?
Some third-party extensions exist, but they are not recommended by the manufacturer. Aftermarket parts can exceed the maximum safe height, increase leverage stress on the steering column, and void the scooter’s safety certifications.
Does handlebar height affect battery range?
Indirectly, yes. A poor posture increases aerodynamic drag and may cause you to grip tighter, which can lead to subtle speed variations. However, the effect is minimal—typically less than 2–3% of total range. Tire pressure and weight distribution have a much larger impact.