Go-Go Elite Traveller Battery Replacement: Step-by-Step Guide
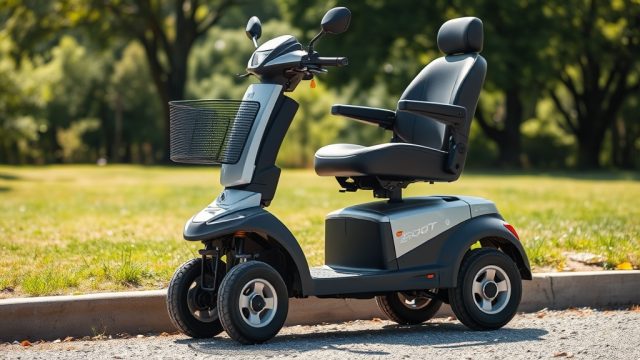
The Pride Mobility Go-Go Elite Traveller is a popular portable scooter, but its battery performance inevitably declines after 12–18 months of regular use. Recognising when to replace the battery and knowing how to do it safely can save owners both time and money. This guide provides clear, practical instructions for replacing the battery on this specific model, helping users maintain reliable travel mobility.
What Tools and Battery Pack Do I Need for the Go-Go Elite Traveller?
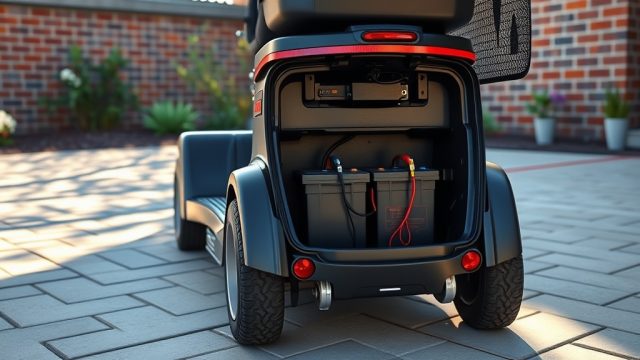
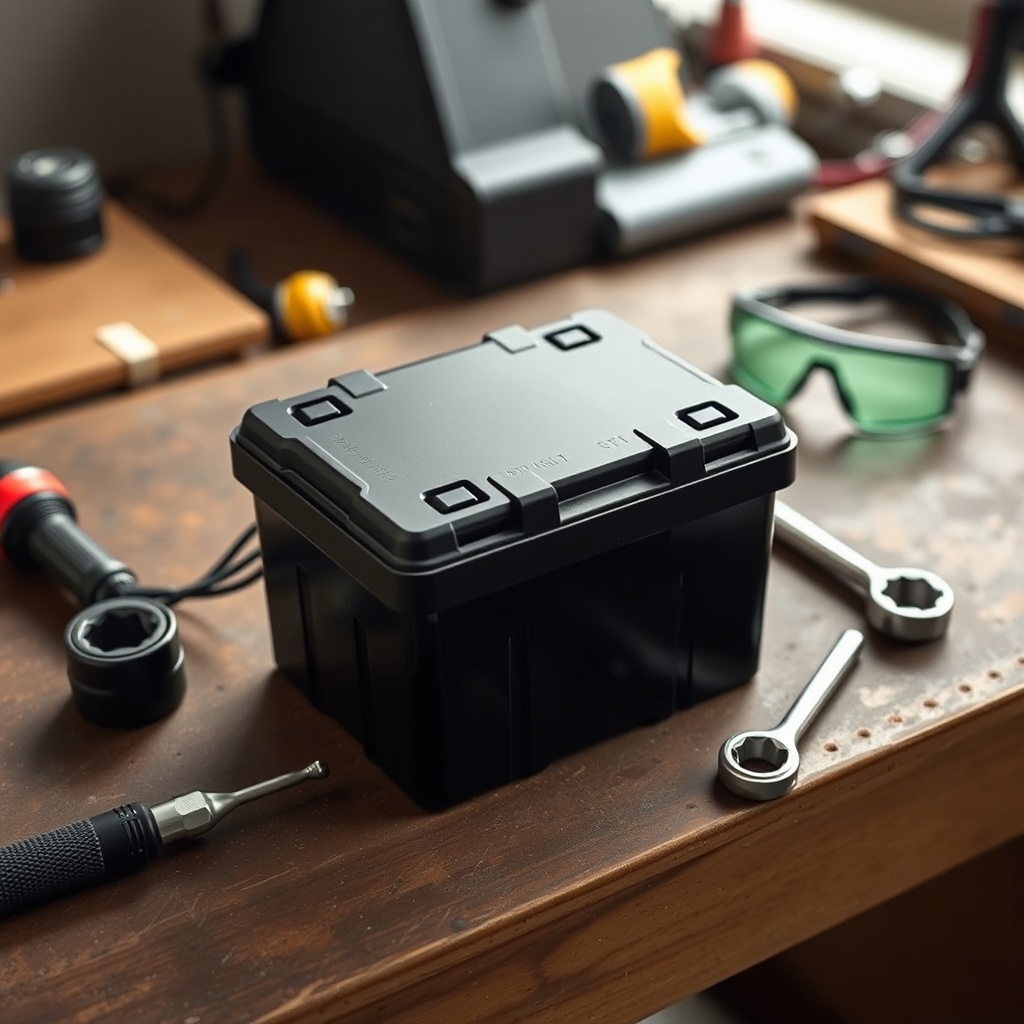
Before beginning the replacement, gathering the correct components and tools ensures a smooth process. The Go-Go Elite Traveller uses a sealed lead-acid (SLA) battery pack, typically a 12V 12Ah (or 12V 10Ah) unit housed in a plastic case. Some newer models accept lithium-ion upgrades, but most standard replacements remain SLA-based. A typical replacement battery pack costs between £50 and £90, depending on brand and capacity. Third-party units are often available for around £65, while genuine Pride Mobility packs can exceed £100.
Required tools include:
- Phillips-head screwdriver (size #2 preferred)
- Flat-head screwdriver (for prying connectors if needed)
- Socket or adjustable wrench (8mm or 10mm, depending on terminal bolts)
- Safety goggles and insulated gloves (recommended)
- Multimeter (optional, for verifying voltage)
Always verify the battery compartment dimensions: the standard pack measures roughly 7.1 x 3.8 x 6.4 inches (180 x 96 x 163 mm). Using an incompatible battery may cause fitting issues or electrical damage.
How Do I Safely Remove the Old Battery from the Scooter?
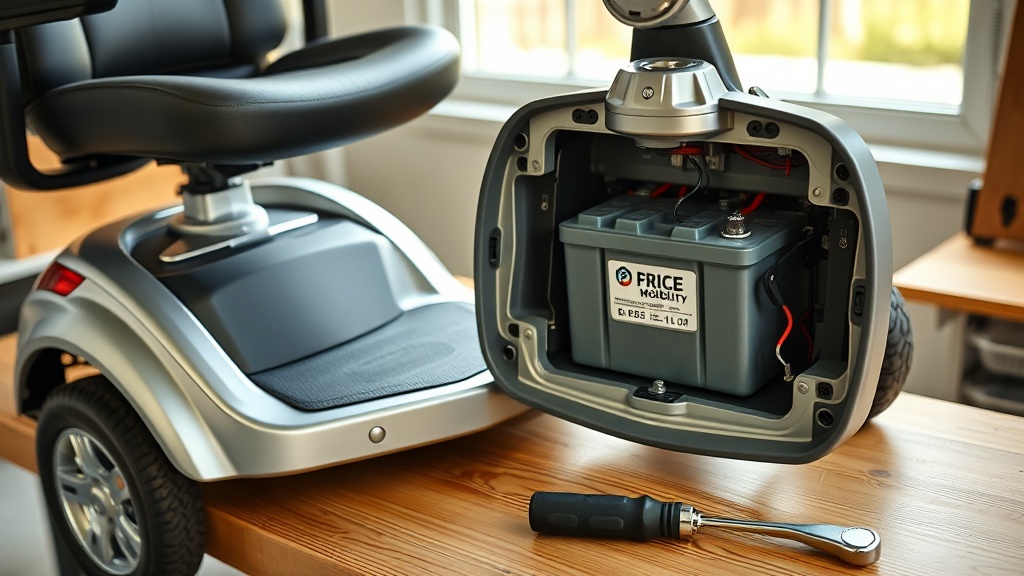
Safety comes first: power off the scooter completely, remove the key, and disconnect the charger. The battery compartment on the Go-Go Elite Traveller is located beneath the seat or at the rear of the tiller, depending on the specific series (e.g., S or Sport models). For most current versions, follow these steps:
- Fold or remove the seat by pressing the seat release lever and pulling upward.
- Locate the battery compartment lid. It is secured by two or four Phillips screws.
- Remove the screws and lift the lid carefully; some models have a retaining clip.
- Unplug the red and black connectors (often Anderson PowerPole or spade terminals) from the battery pack.
- Place the old battery pack aside. Note the orientation of the terminals for easy installation.
- Inspect the compartment for corrosion or debris; clean with a dry cloth if necessary.
If the battery pack is secured by a strap or foam padding, remove it. For terminals that are bolted, use a socket wrench to loosen the nuts (typically 8mm). It is advisable to disconnect the negative terminal first to reduce short-circuit risk.
How Do I Install the New Battery Correctly?
Installing the new battery pack is largely the reverse of removal, but attention to polarity and connection tightness is critical. Follow these steps:
- Place the new SLA battery pack into the compartment, ensuring the cable routing aligns with the original path.
- Connect the red positive lead to the red terminal on the battery, then the black negative lead to the black terminal. Tighten bolts or plug connectors firmly.
- Apply a thin layer of dielectric grease to terminals if desired, to prevent corrosion.
- Replace any retaining straps or foam, then secure the compartment lid with the screws.
- Reinstall the seat, ensuring it clicks into place.
After installation, charge the battery fully (8–12 hours) before first use. The included charger is typically a 2A or 3A unit, and it is important not to interrupt the initial charge cycle. Modern SLA chargers automatically stop when full, but leaving it connected for a full 12 hours ensures optimal capacity.
| Step | Estimated Time | Cost (GBP) | Difficulty Level |
|---|---|---|---|
| Disassembly (seat removal, compartment access) | 5–10 minutes | £0 | Easy |
| Old battery removal | 3–5 minutes | £0 | Easy |
| New battery installation | 5–10 minutes | £0 | Easy |
| Testing and charging | 8–12 hours | £0 (charging uses minimal electricity) | Easy |
| Replacement battery pack (standard SLA 12V 12Ah) | N/A | £60–£90 | N/A |
What Should I Do After Battery Replacement to Ensure Longevity?
Proper post-installation care significantly extends battery life. Always charge the battery after each use, even for short trips. Avoid letting the charge drop below 20%; deep discharges harm SLA cells. Store the scooter in a dry, temperature-controlled environment (10°C–25°C). Extreme cold reduces capacity, while heat accelerates degradation. For Go-Go Elite Traveller Troubleshooting: Common Battery and Motor Problems Fixed, many issues stem from improper charging habits.
Also, check the tire pressure regularly (if pneumatic tires are fitted), as underinflated tires increase motor load and battery drain. Clean the battery terminals biannually with a wire brush to remove any oxidation. Set a reminder to replace the battery every 12–18 months if you use the scooter daily. For extended storage (more than one month), charge the battery to 100%, then disconnect it and store in a cool, dry place. Recharge it every 6 weeks to maintain health.
What Are Common Mistakes to Avoid When Replacing the Battery?
Owners sometimes encounter problems that could be prevented. The most frequent errors include misconnecting polarity (causing blown fuses or controller damage), overtightening bolts (cracking the battery case), and using a battery with incorrect voltage or capacity. The Go-Go Elite Traveller requires a 12V battery; using a 6V or 24V pack will cause immediate failure or fire risk. Another common mistake is failing to secure the battery within the compartment, leading to internal wiring damage during travel. Ensure the foam pads are in place to prevent shifting.
Additionally, users may ignore the circuit breaker reset button located near the battery compartment. If the new battery does not power the scooter, check the breaker (push firmly). For more in-depth analysis, refer to the Mobility Scooter Buying Guide: How to Choose the Right Model for You to understand battery specifications before purchase.
What Owners Say About Go-Go Elite Traveller Battery Replacement
Feedback from the user community highlights both satisfaction and minor challenges. Many owners appreciate the straightforward access to the battery compartment, with one reviewer on a UK mobility forum noting, “I replaced the battery in under 20 minutes, even with no prior experience. The connectors are easy to find online.” Another owner mentions that after three years, they upgraded to a lithium battery pack for lighter weight, but caution that Pride Mobility Go-Go Elite Traveller Buying Guide: Key Features and Considerations recommends checking compatibility first.
However, some users report difficulty locating the correct battery model, especially when ordering from third-party retailers. A frequent complaint involves aftermarket batteries arriving with incorrect terminal orientations, requiring additional wiring adapters. Overall, the consensus is that the Go-Go Elite Traveller is one of the simpler scooters for DIY battery maintenance, though owners advise purchasing from reputable suppliers. For those prioritising portability alongside battery life, the Pride Mobility Go-Go Elite Traveller Comfort vs Portability: A Detailed Analysis offers helpful balancing considerations.
Frequently Asked Questions About Go-Go Elite Traveller Battery Replacement
How long does a Go-Go Elite Traveller battery typically last?
With regular use (5–10 miles per day), the standard SLA battery lasts 12–18 months. Lithium upgrades can last 3–5 years but cost significantly more (around £200–£300).
Can I replace the SLA battery with a lithium-ion one?
Yes, but only if the replacement pack matches the voltage and physical dimensions. A compatible lithium pack often requires a different charger, and the scooter’s controller must support the higher energy density. Consult the manual or a dealer.
Why is my new battery not charging fully?
This can occur if the charger is old or faulty, if the battery was stored partly discharged, or if the connection terminals are corroded. Try charging with a multimeter to check voltage (should reach 13.8V–14.4V at full charge for SLA).
What is the correct charging procedure for a new SLA battery?
Charge the battery for 8–12 hours uninterrupted on the first charge. Use only the scooter’s original charger or a compatible smart charger. Avoid frequent partial charges; fully discharge and recharge every month to maintain capacity.
Where can I find the correct replacement battery part number?
The OEM part number is usually printed on the original battery pack label. For the Go-Go Elite Traveller, common numbers include SCB-710 or 12-12A. Go-Go Elite Traveller Seat Height Adjustment Guide: Ergonomic Setup Tips also includes battery compartment layout details.
Will replacing the battery void my warranty?
Only if the replacement is performed improperly or uses unauthorised parts. The scooter warranty covers manufacturer defects, not consumables like batteries. Installation by a qualified technician is recommended if you are unsure.